Many gardeners want to know when to dig out tulip bulbs and plant them in new soil, as these manipulations must be performed once every several years. Otherwise, the plant grows deep into the ground, and the buds are getting smaller. The transplant process requires careful preparation and subsequent care of the flower.
Material Content:
Preparing tulips for digging after flowering
To prepare the plant for transplantation, you first need to wait until the buds bloom. Then you need to reduce watering, which was previously plentiful. This should be done gradually, over two weeks.

Fertilizing tulips for the last time is carried out during flowering, in the future it is not required. Flowers can be cut if they are grown for this. However, several leaves must be left above the height of the soil.
When to dig out tulip bulbs after flowering?
Finally, when the tulips have faded, you can start digging their bulbs. Most often this is done in the first summer months. You can navigate by the state of the leaves of flowers, since there are no specific dates for this procedure. If most of the plant is yellow, it is ready to be dug up.
It is necessary to adhere to the golden mean:
- Early digging up of tulips will not allow the bulbs to grow stronger, which subsequently affects their preservation.
- Late flower harvesting is also not useful, as new, daughter bulbs may crumble.
Experienced gardeners argue that it is recommended to dig a plant at least once every 2-3 years.Otherwise, a rare variety will forever lose its decorative properties.
How to dig a plant?
Digging out the tulip bulbs is necessary only in dry weather. This ensures that the soil is loose, making it easy to separate from the bulbs. If this rule was not observed and there is a large accumulation of dirt on them, rinse and thoroughly dry the material for planting.
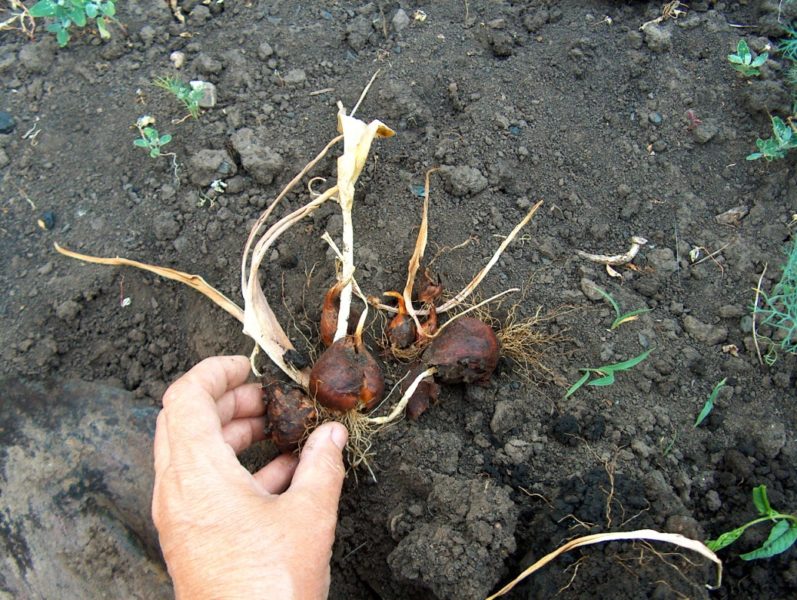
You need to dig out the flowers with a bayonet spade, retreating a short distance from the leaves of the tulip. Then you should make a dig, so that the bulb easily comes out of the ground.
Sometimes this plant is planted in special baskets, then digging them up will not be difficult.
Storage conditions for dug bulbs
The gardener should initially think about where he will store the plant until the next planting. On the surface of the bulbs should not fall sunlight, water. The room should choose a dry one, having a constant temperature of about 25 degrees, dampness is prohibited.
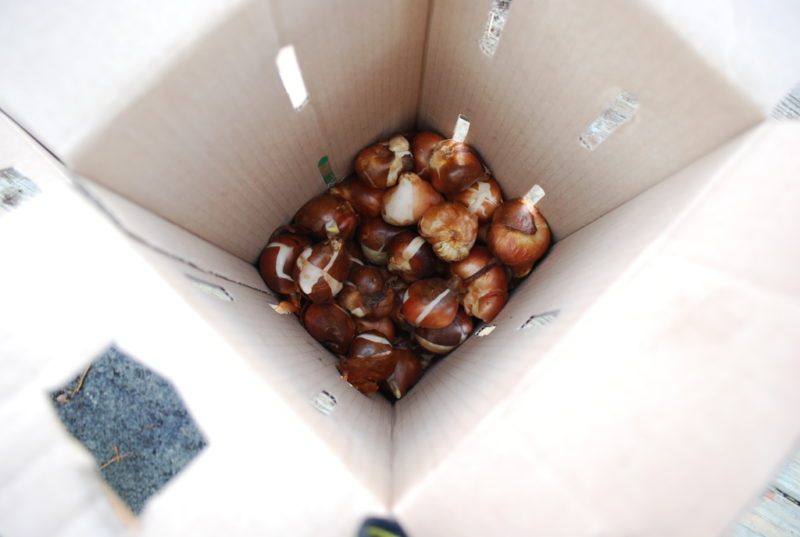
Ideally, if subsequently it is possible to change the temperature to 20 degrees, and then to 15. Initially, the storage location should be periodically ventilated, a month before disembarkation this should be done less often.
The germination and appearance of future flowers directly depends on how tulip bulbs are stored. If you do not follow these rules, the planting material will quickly decay, become covered with parasites or dry.
Culling and processing bulbs before planting
It is preliminary recommended to sort the material by condition, grade and size, dry it for a couple of days in wooden crates, and then pickle it.
How to etch:
It is necessary to soak the bulbs for 30 minutes in a weak solution of potassium permanganate. After all the manipulations, you need to dry the tulips again and send them to a permanent storage place.
Etching helps to remove pathogenic bacteria from the surface, as well as prevent the decay of future flowers. Dug bulbs are stacked in wooden crates until the fall. Periodically, it is recommended to sort through them, removing rotted or wilted tubers, if any.
How to plant tulips
The best time for a new landing is autumn. Of course, experienced gardeners can do this in the spring, but more efforts will need to be made so that the plant blooms in time. Tulips for transplantation must first be cleaned of the top layer of the husk, etched again with potassium permanganate for disinfection.
Attention also needs to be paid to the soil. The earth should be loose, conduct water and air well. The groundwater level should not exceed 75 cm. Fertile soil with neutral acidity should be chosen.
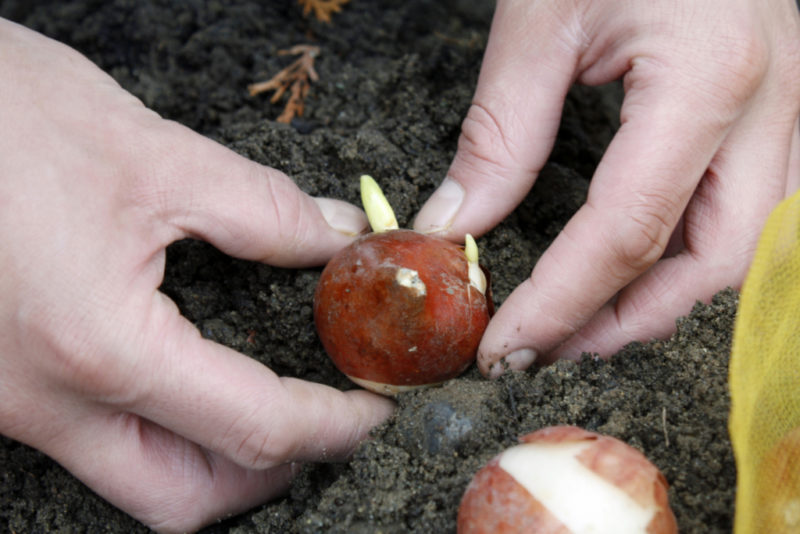
Action plan:
- Dig small ditches or separate holes for each plant. They should be 3 times larger than the planting material itself. Between the planted bulbs, it is necessary to observe a distance equal to their doubled diameter.
- Drain in the form of a small amount of sand.
- Plant onions, sprinkling a hole on all sides with sand or ash.
- Fill with a layer of soil until the land is completely leveled.
Self-watering is recommended to be carried out one and a half weeks after planting tulips. Upon the onset of frost, it is necessary to cover the ground (mulch) with compost, straw or peat. This action will help regulate adequate air and water exchange. In spring, it is recommended to remove the mulch, as it will interfere with the emergence of new sprouts.
Features of care and excavation in Siberia and the Urals
The main nuances that help grow tulips in Siberia or the Urals, is the choice of place for planting. Optimally, if it is located in the area of a heating main or septic tank, then the earth in this place will not be so frozen. You also need to protect the bed from the wind, it is better to place it in a sunny area.
Planting these flowers in cold areas requires the gardener to dig them out annually, as the buds are quickly smaller, and the plant dies. Digging of tulips in Siberia is carried out approximately in the beginning of July, and planting takes place at the end of September. The best option is to plant the plant immediately after the first freezing.
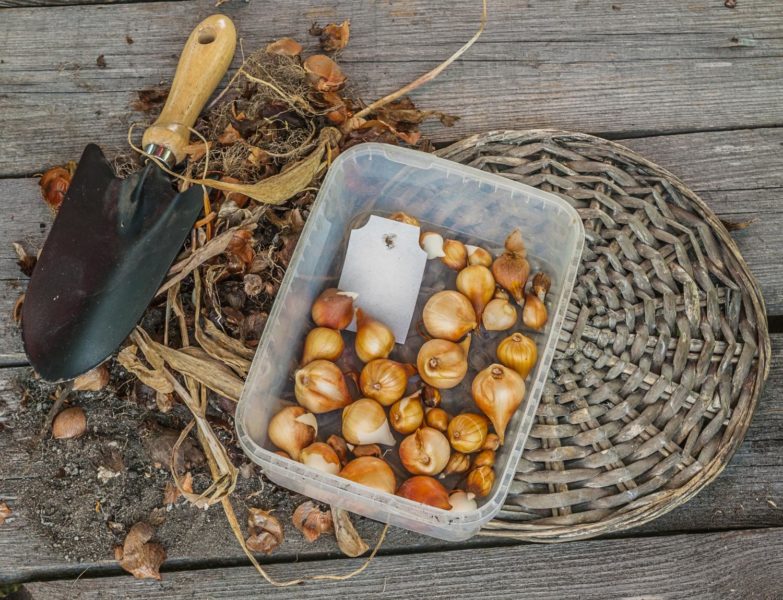
When laying planting material in the hole, it must be sprinkled with manure. In the cold, it is recommended to fill a flower bed with flowers in the snow, in addition, you can cover it with straw. To ensure heat transfer, it is not recommended to use polyethylene.
Following these simple rules will allow the gardener to admire beautiful plants in the territory of his house or garden, as well as give unforgettable bouquets to relatives and friends.


