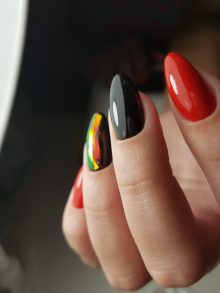
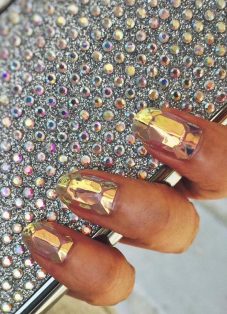
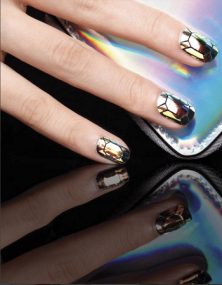
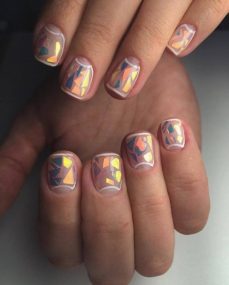
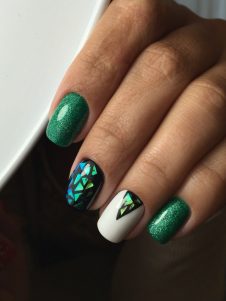
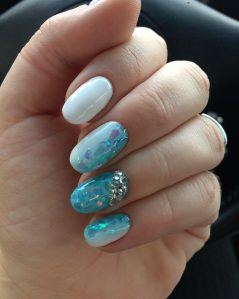
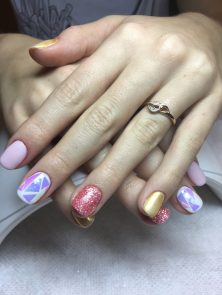
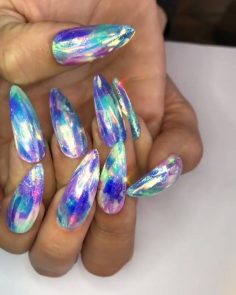
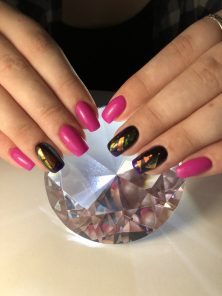
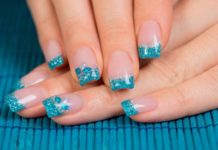
Broken glass manicure has become one of the most striking novelties of the last season. And thanks to the variety of techniques to create such a design, it does not lose its leading position in the new year. Holographic foil, various rubbing, all kinds of patterns in combination with broken glass at the peak of trends.
Material Content:
Classic manicure "broken glass"
To master the delightfully bright and attractive nail art technique, which, moreover, can be performed in a huge number of options, today every fashionista is obliged. The pattern of broken glass on the nails enchants with its radiance and attracts glances. The design will be especially interesting in bright light or in the sun, when you can see all of its amazing overflows.
Nail design “broken glass” allows you to make a truly unique manicure. The pieces of foil located on the nail always form a new pattern, so this design is exclusive and unique.
And, of course, it allows a manicure lover to show all the richness of her creative impulsive nature, endlessly combining design options, mixing various techniques and color palettes.
In order to start experimenting with mixing techniques, you must first master the basic classical version.
To create it on your nails, you must follow these recommendations:
- The nail plate is covered with a base coat that will extend the wearing time of the manicure.
- Nails are painted with colored varnish or shell varnish.
- Pieces of foil, previously cut into small pieces (triangles, squares), are laid out on the nail, attaching to its sticky layer.
- A top coating is applied on top of the foil, which fixes the resulting pattern and seals the end of the nail. Design is ready!
The effect of broken glass can be conveyed in a multi-layer technique of drawing. To achieve this effect, several layers of transparent varnish are applied to the nail, between which pieces of chopped foil are placed. This method allows you to achieve the 3D effect on a flat surface of the nail.
How to make a design with a holographic foil
Today, on the market of goods for nail art, you can buy holographic foil, presented in various forms. This holographic powder (a mixture of the smallest sparkles), and strips for translation technology or casting, and glitter confetti, and hologram stickers, and even hologram dust of all kinds of colors.
All these materials, used singly or in combination with each other, allow you to create a pattern that looks like a hologram, and convey the feeling of a three-dimensional image on a flat surface. The depth effect can be enhanced many times by using several layers of varnish.
In general, the design is created in the same way as its usual, classic variation:
- A base coat is applied to the nail.
- The nail plate is painted with varnish of the desired color.
- Pieces of a holographic film are placed on the varnish layer, or it is sprinkled with holographic dust, glitter confetti.
- A topcoat is applied on top or, if desired, another 1 - 2 layers of foil and transparent varnish.
This technique of applying foil on the nail creates endless overflows of holographic fragments shining with different colors. The depth effect that appears on the nail plate is so realistic that it evokes genuine admiration.
Drawing Nail Art Ideas
Despite the fact that regular and holographic foil for nails allow you to create completely self-sufficient design options that do not need additional decor, this technique can be combined with other patterns. Moreover, most often a manicurist uses foil only as an additional element and a kind of accent.
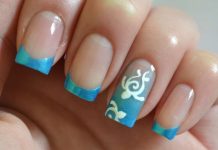
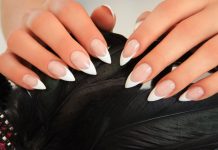
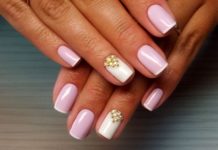
Shiny fragments can complement the modest charm of a restrained and noble jacket or support the spectacular chic of a bright fan-style manicure. Ideas for combining shiny pieces of foil with a geometric pattern suggest themselves. Sharp corners, straight lines, a strict order of geometric ornament - and business stylish nail art is ready!
Note! “Broken glass” does not always look good in combination with plant and flower motifs. Use such elements in one design with great care.
Perfect rubbed manicure
Brilliant rubbing makes it easy to create a spectacular version of nail art. Bright overflows of metal glare will stay on the nails for a long time, drawing attention to their owner.
But in order for the rub to hold well on the nail and be worn for a long time, the following rules must be observed:
- A thin layer of the base coating is applied to the nail, the end is sealed.
- Gel polish is applied next. If it does not have an adhesive layer, then rub it in immediately. Otherwise, another 1 layer of the top is applied to it and dried in a lamp.
- Perfect shine can be achieved by rubbing it on hot gel polish.
- Smooth the rub on the nail, remove the excess with a brush.
- The butt of the nail is treated with a soft file, then the nail is fixed with the top.
If all the recommendations are followed, the glossy finish on the nails turns out exactly the same as in the photo in the fashion magazine, and pleases its owner with a mirror shine for a long time.
Broken glass design with gel polish
Performing a manicure using gel polish is not difficult. The procedure repeats the steps to create a classic broken glass nail art, with the only difference being that gel polish is used instead of plain varnish. Design options made using this varnish are almost limitless.This combination of a jacket with fragments of broken glass, and broken glass on the nails of different colors, and more complex ornaments, and stylish geometry.
It is enough to apply gel polish on a dried base coat, lay out pieces of foil and complete the top manicure. Those fashionistas who want to simplify the task can be advised to pay attention to Glass effect and Metallic gel varnishes or glitter gel varnishes. They have the texture of a mirror coating or metal surface, which can be made in any color.
The bewitching kaleidoscope of iridescent mirror fragments on the nails will not go out of fashion for a long time. But to master the technique of “broken glass” to perfection and enjoy its inexhaustible possibilities now is the time!


