How to transplant an orchid at home, every grower who has decided to settle such an exotic guest should know. There is nothing complicated in the procedure, but at the same time you need to know exactly how to carry out all the manipulations. After changing the pot, it is important to provide the plant with good care.
Material Content:
When a transplant is needed: root causes
For an orchid, as for any other plant, transplanting into a new pot is a great stress, and therefore it is necessary to resort to it only if there are good reasons. It is most correct to carry out a transplant in the spring, but when you need it urgently, you have to do it at any time.
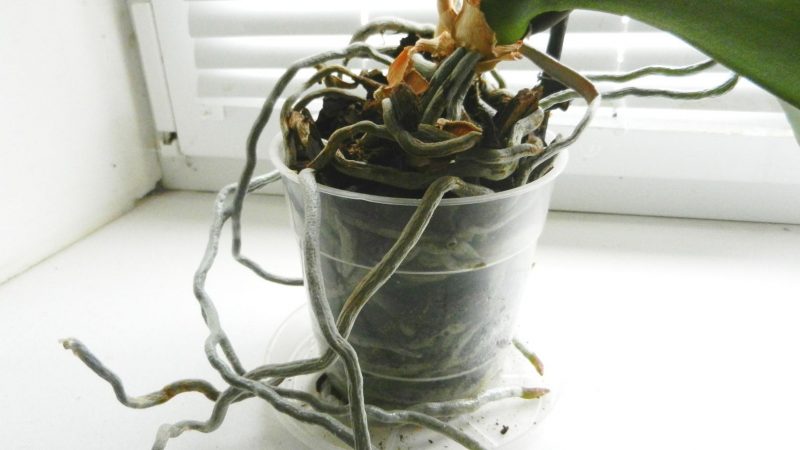
The main signs that the plant needs to change the size of the tank or replace the soil are as follows:
- subsidence and clumping of the substrate - if it is visible that there is a lot of free space in the pot and the plant does not hold well in the soil, it is time to transplant the flower. If possible, you need to wait until spring, but if the orchid is already completely falling out, it is necessary to transplant it right away;
- the smell of dampness and rot from the pot;
- a significant increase in the weight of the pot after watering in comparison with how he then weighed earlier;
- darkening of the roots and the appearance of a brownish tint;
- the presence of rotten roots in the plant - they should be removed during transplantation so that the rot does not spread;
- stunted look;
- the appearance of mold in the pot.
The flower grower, you need to carefully examine the orchid and the substrate, assess their condition and decide: postpone the transplant until spring or conduct immediately.
Preparing the plant for the procedure
In order for the orchid to easily transfer the transplant, it must be properly prepared for this process.If you have to move a flowering plant, then 1-2 days before transplanting from it you need to cut the peduncle. This is the only way not to lose the plant due to severe stress. In a vase, the flower arrow will stand long enough.
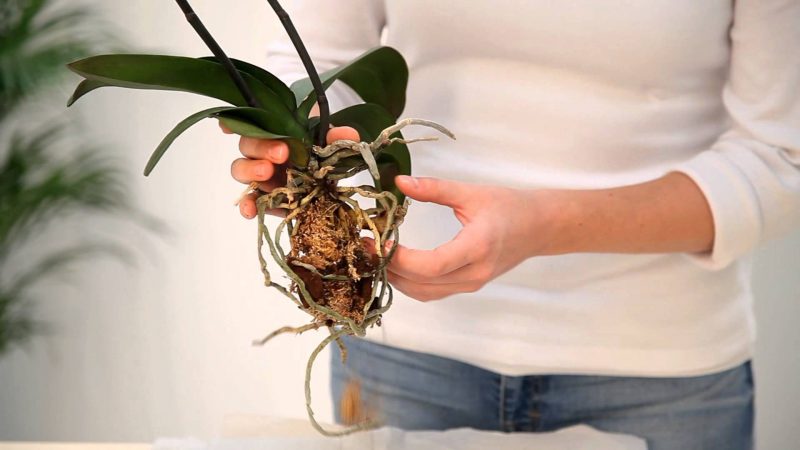
Also, it is necessary to put a pot of orchid in the water 6 hours before the transplant, so that you can better see healthy green roots and damaged or dead.
Before transplanting, you should wipe the leaves with a moist cotton pad, as this allows you to remove dust from them and improve leaf respiration. This will facilitate the recovery from stress.
Pot and substrate requirement
In order for the flower to feel good, it is necessary to provide it with the right pot and soil. Depending on the type of orchid, they vary slightly. So, for phalaenopsis, a transparent container is needed, and for a dendrobium, the pot may not be transparent. Ceramic containers for orchids are unacceptable, since in them the roots will grow to the walls and become damaged during subsequent transplants. You need to take a flower pot for the flower, the bottom of which has numerous drainage holes. If they are not enough, then it is necessary to do additionally with the help of a hot nail.
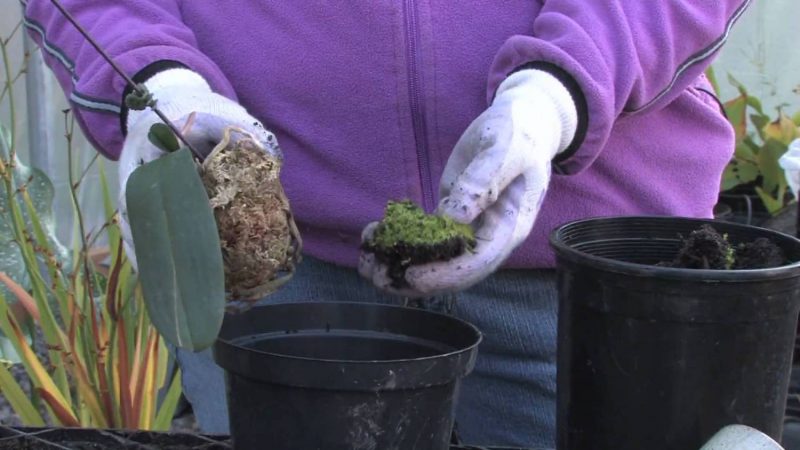
Soil for the plant is required, like a pot, special. It’s easier to buy it at a flower shop. It should consist of sphagnum moss, bark of conifers, charcoal (an optional component that is not included in all soils for orchids) and peat. If desired, the soil can be prepared independently, but since this process is complex, and the finished substrate is not expensive, in the vast majority of cases, such an activity is unjustified. Also, with home preparation of soil for orchids, its safety and the absence of pathogens in the substrate cannot be fully guaranteed.
How to transplant an orchid?
Plant transplantation should take place correctly, in compliance with a certain sequence.
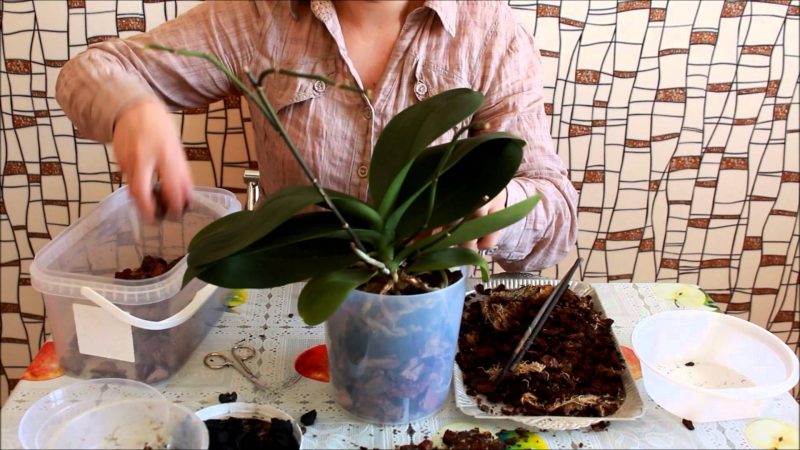
For the procedure you will need:
- gardening scissors;
- crushed charcoal (can be replaced with activated charcoal);
- bowl of settled water.
Transplantation begins with careful extraction of the plant from the pot. At this stage, it is very important not to injure the roots. The pot is gently squeezed slightly from the sides and an orchid is pulled out of it. If efforts are required to extract the plant, it is best to cut the pot with scissors.
Next, you need to free the roots from the old soil, which is convenient to do in a bowl of water. It is only important to ensure that the sheet outlet is not wet.
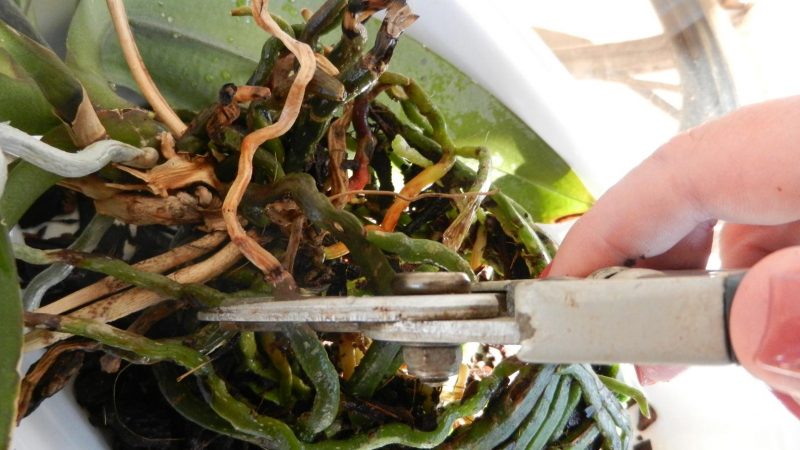
When the roots are cleared of soil, all dried and rotting ones must be cut off.
Places of slices are sprinkled with crushed coal. It is unacceptable to touch green roots, as this will lead to serious consequences in the future.
If pests are found on the roots of the orchid, then it will have to be lowered for 3-4 hours in warm water. With a large number of pests, the roots are immersed in a slightly pink solution of manganese. Then they are dried for 8-10 hours.
A small drainage layer is poured into a new pot, a flower is placed in the center of the pot and the soil is gently poured, evenly distributing it in the root system so that the orchid is firmly held in the substrate. When an orchid has a lot of aerial roots, trying to cover them all is not worth it. Tamping the soil should also not be.
Flower care after transplantation
After the plant is transplanted, it is necessary to ensure proper care for it. It will allow the orchid to recover quickly from stress and begin to increase the root and aboveground green mass.
In the next 10 days after transplanting, the flower should be kept in the shade. This will prevent leaf damage and the appearance of sunburn on them. The temperature in the room where the orchid is in the next 2 weeks should not exceed +20 and be below +18.
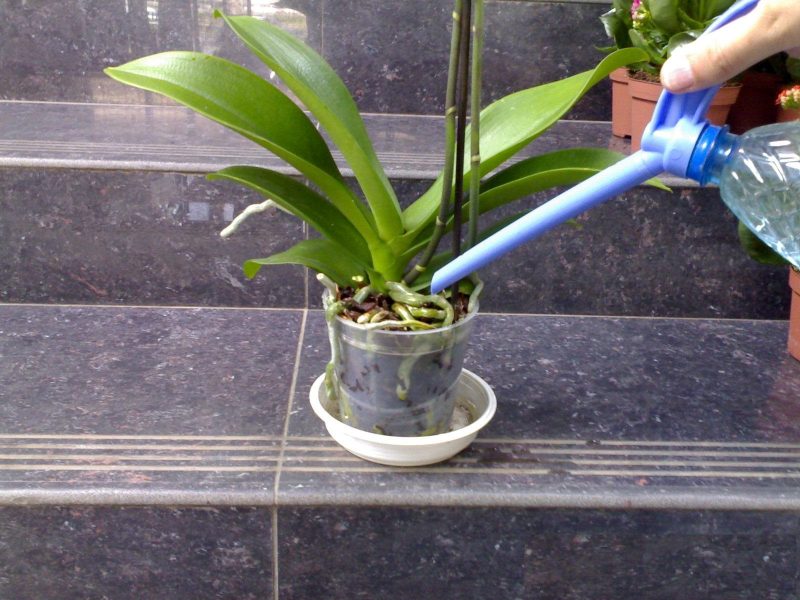
The first watering after transplantation is needed after 4 days. The water used is boiled. The pot is placed in the basin for 30 minutes. During this time, the soil will have enough time to be saturated with water so that the orchid can drink before the next watering.After that, they are watered after 2 weeks in the usual way. The leaves are wiped with a wet disc once every 7-10 days.
Fertilizers can be applied a month after transplanting. It is necessary to apply a complex mineral composition for orchids.
Is it possible to transplant a blooming orchid?
Transplanting a blooming orchid is extremely undesirable. If there is no other way, then the peduncle must be cut off. It is impossible to transplant a plant and keep flowers on it. Leaving the peduncle, the owner of the orchid risks losing it with a probability of 99%. This is due to the fact that the plant does not have enough strength for flowering and for recovery after changing the pot. Thus, the answer to the question of whether it is possible to transplant a blooming orchid is definitely not.
Possible problems after the procedure
Sometimes, after the orchid has been transplanted into a new container, problems arise. Most often, the grower is faced with the fact that the leaves of the plant begin to turn yellow and fall off.
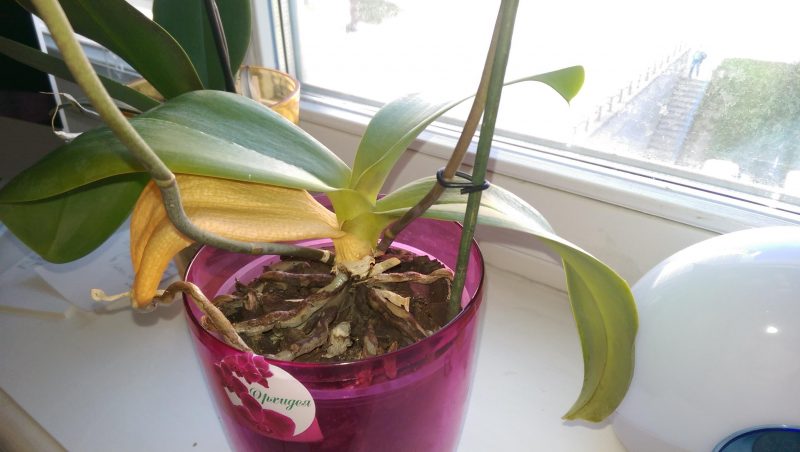
There are two reasons for this.
- The first is the too small amount of preserved roots, and then dropping leaves is the norm, because, after the flower has grown roots, it will take out new leaves.
- The second reason is improper watering after transplanting. In this case, you can stop leaf spoilage by normalizing it. Also, drying of the leaves is sometimes observed due to exposure to the plant in the first week of sunlight.
If the orchid transplant was carried out correctly, in compliance with all the features of the process, then, recovering from stress, the plant will release peduncles and will please with rapid flowering. Normally, the plant should be transplanted once every 2-3 years, since during this time the soil in the pot becomes unusable. More often, without urgent need, you should not move the orchid from the pot to the pot.


